
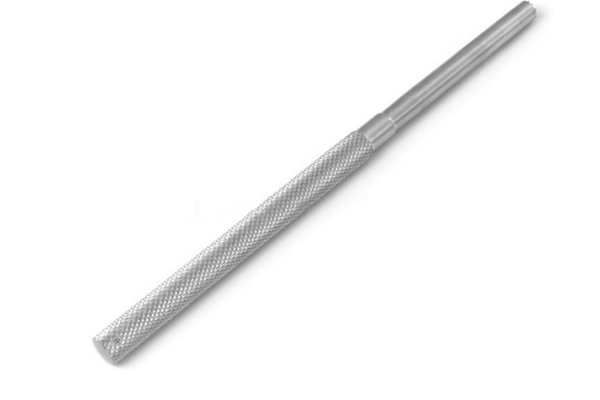
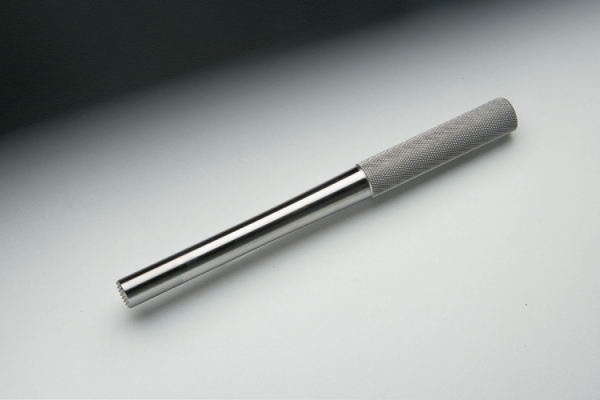
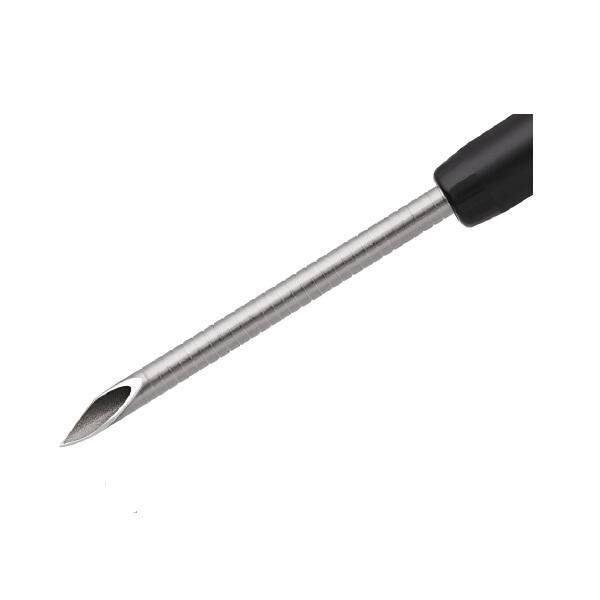
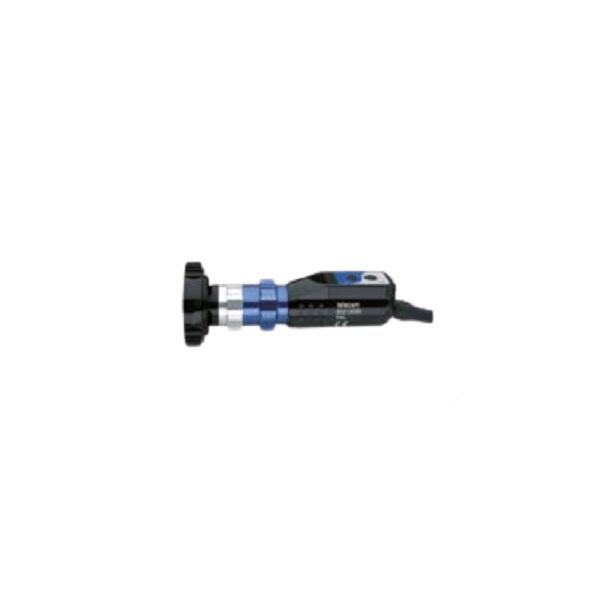
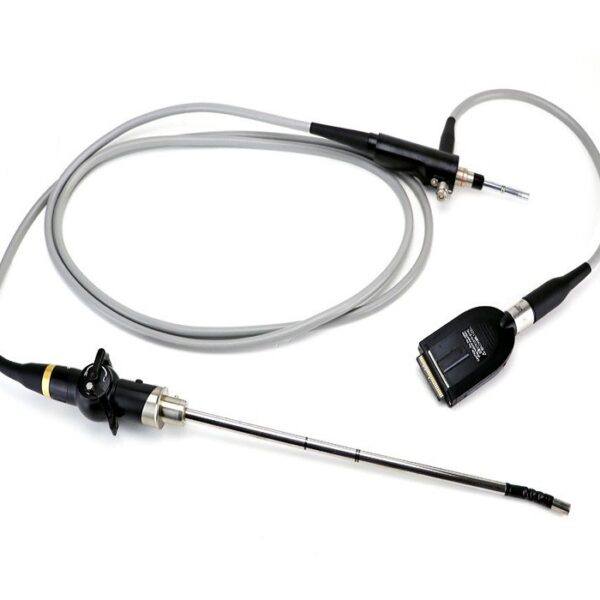
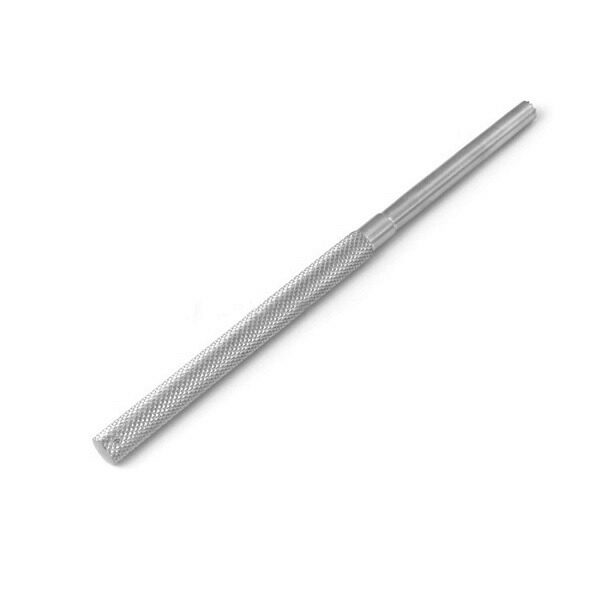
تامپ استخوانی ( Bone tamp )
تامپ استخوانی ( Bone tamp ) : یک لوله از جنس استیل ضد زنگ است که دارای یک دسته مدور و انتهای کاری مسطح می باشد .
مورد استفاده : جهت فشردن یا محکم کردن یک ساختار در سرجای خود ( مثل یک قطعه استخوان ) کاربرد دارد .
Bone tamp
توضیحات بیشتر : آن را همراه با یک چکش به جراح تحویل می دهد .
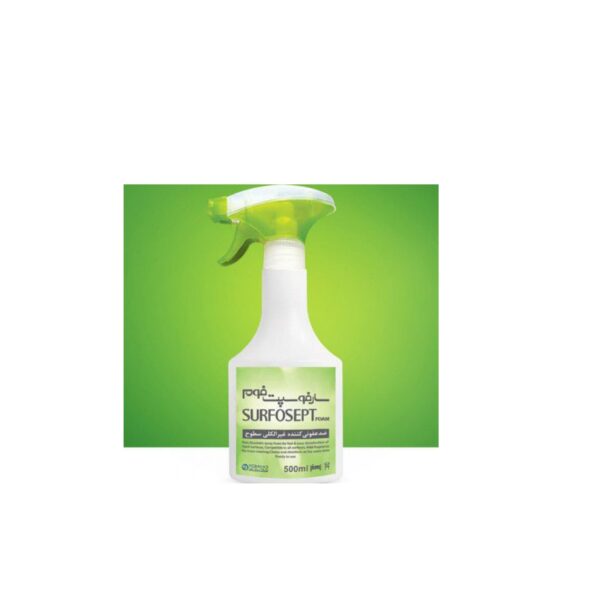
برای مشاهده ی صفحه ی اینستاگرام ما می توانید بر روی این لینک کلیک نمایید.
Bone tamp
–Click on the “Login to site“ to view other products. /
برای مشاهده محصولات دیگر برروی کلمهی “ورودبه سایت“ کلیک نمایید./
Indications ( Cuff Repair)
1. Patients with chronic shoulder pain or weakness ith a documented rotator cuff tear that has failed nonsurgical management (rest, local modalities,
NSAIDs, physical therapy, and judicious subacromial cortisone injections) 2. Acute, traumatic full-thickness rotator cuff tears
3. Partial-thickness rotator cuff tears greater than 50% Indications for associated acromioclavicular (AC) joint resection
➣ AC joint tenderness on physical examination
➣ Radiographic changes of AC joint arthritis
➣ Exposure optimization of a retracted supraspinatus
tendon in chronic or massive rotator cuff tears
تامپ استخوانی
Contraindications
1. Active soft tissue or glenohumeral infection
2. Neuropathic joint
3. Chronic axillary nerve injury
4. Failed prior surgical treatment with associated deltoid insufficiency (relative)
5. Degenerative arthritis (relative); consider combining rotator cuff repair with shoulder arthroplasty
6. Patient’s overall medical condition (relative)
7. Parkinson’s disease or other diseases that cause uncontrolled muscle activity (relative)
8. Patient unable to comply with postoperative
rehabilitation
Preoperative Preparation
1. Physical examination to include assessment ofAC joint tenderness and/or pain with shoulder adduction
2. Obtain radiographs
a. Anteroposterior (AP) in plane of scapula (true AP)
b. AP shoulder (check distal clavicle for “spurs”)
c. Axillary view (check for os acromiale, glenohumeral arthritis)
d. Supraspinatus outlet view (assess acromion shape [types I–III], spinoacromial angle)
e. 25 degree caudal tilt (“Rockwood view”) (optional)
3. Consider magnetic resonance imaging (MRI): helps
evaluate extent (“full” versus “partial” thickness) of rotator cuff tears, and presence of muscle atrophy or tendon retraction; observe mass effect of acromion and AC joint on supraspinatus tendon (impingement).
تامپ استخوانی
Special Instruments, Position, and Anesthesia
1. Small sagittal or oscillating saw for bone resection
2. 1.6-mm drill bit for deltoid reattachment
3. Small, half-circle curved free Mayo needle, and #2 braided nonabsorbable suture 4. 5-mm round burr and broad flap rasp to “fine-tune”
acromioplasty
8 CHAPTER 2Open Rotator Cuff Tendon Repair2 OPEN ROTATOR CUFF TENDON REPAIR 9
5. Semi-sitting or beach chair position.
The patient is moved as close to the side of the table as possible while still being stable.
A beanbag-type McConnell head holder (McConnell Surgical Mfg., Greenville, TX) or AMSCO “captain’s chair” is useful to secure and stabilize the head in a safe neutral position.
Care must be taken to pad all bony prominences.
6. The head may be secured gently with a padded strap or tape across a pad on the forehead. Care must be taken to avoid the strap or tape from sliding down over the eyes.
7. The procedure can be done with either general or interscalene block anesthesia.
تامپ استخوانی
Tips and Pearls
1. A thorough preoperative evaluation is critical to a successful rotator cuff repair.
A complete physical examination, review of plain radiographs, and MRI provide meaningful information to plan surgery and counsel patients preoperatively.
The size of tear and the degree of tendon retraction and muscle atrophy can suggest the degree of difficulty in attempting to repair the rotator cuff and the possible need for postoperative abduction brace immobilization.
2. Check passive range of motion preoperatively and under anesthesia. Gentle shoulder manipulation may be necessary to release capsular adhesions. If
adhesive capsulitis is severe, consider a staged manipulation and subsequent rotator cuff repair to minimize post-surgical loss of motion.
3. Mobilization of the rotator cuff tendon along its superior and inferior surfaces and release of a contracted coracohumeral ligament is important to inimize undesirable tension on the tissue and repair.
4. Define the anterior and posterior aspects of the rotator cuff tear and advance and secure these areas first. This closes the tear and relieves tension on the repair at the tuberosity.
5. A secure deltoid repair to the acromion is as important as the rotator cuff repair in restoring shoulder strength and function.
What To Avoid
Bone tamp
1. Make sure the patient is properly positioned on the
operating room table. Avoid excessive cervical traction and brachial plexus traction. Ensure proper padding of all bony prominences to minimize risk
of neuropraxias.
2. Avoid fracturing the acromion during either the acromioplasty or deltoid reattachment.
3. Do not mistake the flimsy bursal tissue for the rotator cuff tendon and use it in the cuff repair.
4. Avoid inadequate or insecure repair of the deltoid to the acromion.
Postoperative Care Issues
1. A sling or abduction pillow is used postoperatively to protect the rotator cuff repair.
The choice of postoperative protection depends on the type of patient, the quality of the tendon tissue, the tension on the sutures, and the adequacy of the cuff and deltoid repair.
2. Three phases of rehabilitation—time in each stage depends on tendon quality and assessment of repair.
a. Phase 1. Passive range of motion: includes pendulum saw, and tummy rub exercises
b. Phase 2. Active-assisted range of motion exercises and gentle cuff isometrics
c. Phase 3. Active range of motion and resistance exercises
Operative Technique
Approach
1. Position the patient on the operating room table as outlined above.
2 . Prepare and drape the entire arm and shoulder girdle “free.”
3. Carefully outline prominent anatomic landmarks: coracoid process, clavicle, AC joint, acromion and scapular spine.
4. Draw the planned skin incision with a marker. The incision should extend 2 in from the lateral aspect of the anterior third of the acromion toward the lateral tip of the coracoid process acromion halfway between the anterolateral and posterolateral corners of the acromion. Place the skin incision in Langer’s lines that parallel the lateral border of the acromion (see Fig. 1–1).
5. If an excision of the distal clavicle is indicated, move the incision approximately 1 cm medial to the standard incision (see Fig. 1–1).
6. Infiltrate the skin and subcutaneous tissue with
1:200,000 concentration of epinephrine.
7. Incise the skin and subcutaneous tissue down to the deltoid fascia.
Develop the prefascial plane to expose the entire anterolateral corner of the acromion and the lateral aspect of the deltoid.
If AC joint excision is planned, dissect further medially to expose the distal 2 cm of the clavicle.
8. Split the deltoid muscle in the raphe between the anterior and middle deltoid.
Begin at the anterolateral corner and extend the dissection distally 2 to 3 cm. The direction of the split is approximately perpendicular to the skin cision.
Consider placing a stay suture to avoid injuring the terminal branches of the axillary nerve (see Fig. 1–2A).
9. Starting from the split, release the deltoid subperiosteally along the anterior acromion using an electrocautery. Start several millimeters back from the anterior edge of the acromion (see Fig. 1–2A).
Bovien electrocautery is more effective than sharp dissection for this step.
10.Release the superficial and deep deltoid fascia. Tag these with heavy nonabsorbable suture, which aids retraction and deltoid repair.
Carefully coagulate the acromial branch of the thoracoacromial artery that is usually encountered near the anterolateral acromion between the uperficial and deep deltoid.
11. Completely detach the coracoacromial ligament, usually along with the deep deltoid fascia, from its attachment on the acromion (see Fig. 1–2B).
Usually it is not necessary to dissect these out separately.
12.Extend the deltoid release past the AC joint. Expose the distal clavicle when distal clavicle excision is planned (see Fig. 1–2A).
Bone tamp

نقد و بررسیها
هنوز بررسیای ثبت نشده است.