

رترکتوربنت
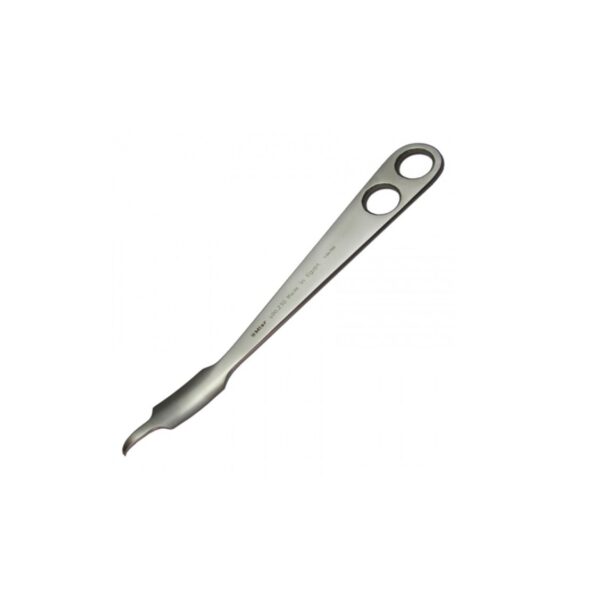
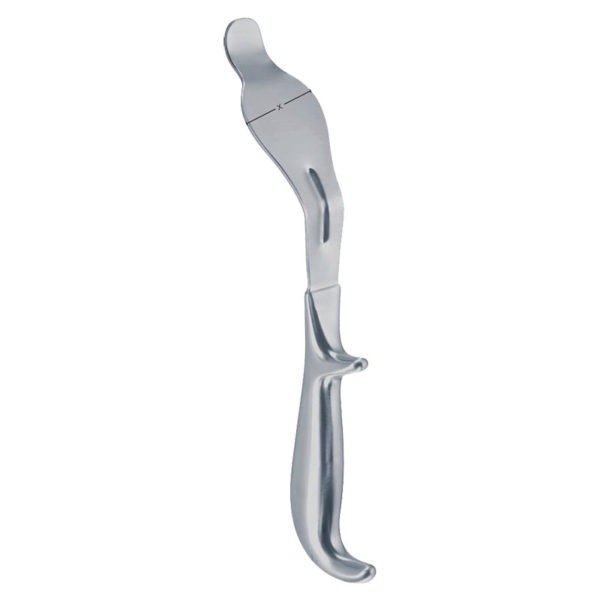
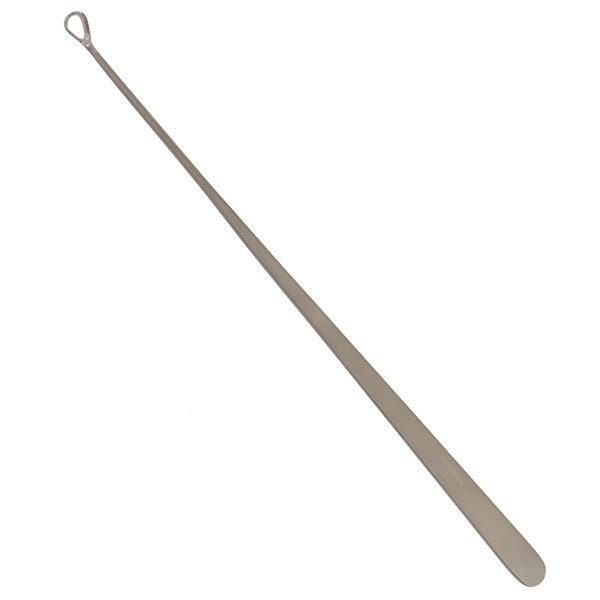
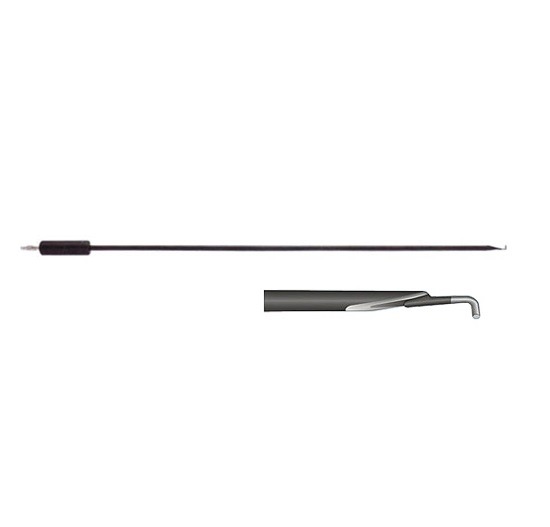
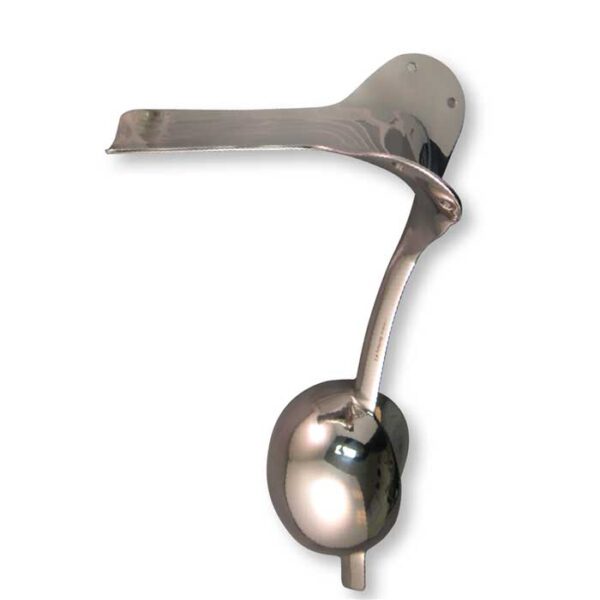
رترکتوربنت ( BENNETT RETRACTOR ) : دارای دسته صاف ، باتیغه کرو رو به پایین و راند است . زبانه نوک آن ، کوچک و رو به بالاست.
مورد استفاده :
جهت کنار زدن بافت ها در طول جراحی های بزرگ ( مثل بخش پروگزیمال یا قسمت میانی تنه استخوان فمور ) کاربرد دارد .
برای مشاهده صفحه اینستاگرام مامایی می توانید بر روی این لینک کلیک نمائید .
برای مشاهده و خرید انواع ابزار های جراحی عمومی می توانید بر روی این لینک کلیک نمائید .
BENNETT RETRACTOR رترکتوربنت
برای مشاهده محصولات دیگر برروی کلمه ی “ورودبه سایت“ کلیک نمایید./
-Click on the “Login to site“ to view other products. /
What To Avoid
1. Make sure the patient is properly positioned on the operating room table.
Avoid excessive cervical traction and brachial plexus traction.
Ensure proper padding of all bony prominences to minimize risk of neuropraxias.
2. Avoid fracturing the acromion during either the acromioplasty or deltoid reattachment.
3. Do not mistake the flimsy bursal tissue for the rotator cuff tendon and use it in the cuff repair.
4. Avoid inadequate or insecure repair of the deltoid to the acromion.
Postoperative Care Issues
1. A sling or abduction pillow is used postoperatively to protect the rotator cuff repair.
The choice of postoperative protection depends on the type of patient, the quality of the tendon tissue, the tension on the sutures, and the adequacy of the cuff and deltoid repair.
2. Three phases of rehabilitation—time in each stage depends on tendon quality and assessment of repair.
a. Phase 1. Passive range of motion: includes pendulum saw, and tummy rub exercises
b. Phase 2. Active-assisted range of motion exercises and gentle cuff isometrics
c. Phase 3. Active range of motion and resistance
رترکتوربنت
exercises Operative Technique Approach
1. Position the patient on the operating room table as outlined above.
2. Prepare and drape the entire arm and shoulder girdle “free.”
3. Carefully outline prominent anatomic landmarks:
coracoid process, clavicle, AC joint, acromion and scapular spine.
4. Draw the planned skin incision with a marker.
The incision should extend 2 in from the lateral aspect of the anterior third of the acromion toward the lateral tip of the coracoid process acromion halfway between the anterolateral and posterolateral corners of the acromion.
Place the skin incision in Langer’s lines that parallel the lateral border of the acromion (see Fig. 1–1).
5. If an excision of the distal clavicle is indicated, move the incision approximately 1 cm medial to the tandard incision (see Fig. 1–1).
6. Infiltrate the skin and subcutaneous tissue with 1:200,000 concentration of epinephrine.
7. Incise the skin and subcutaneous tissue down to the deltoid fascia. Develop the prefascial plane to expose the entire anterolateral corner of the acromion and the lateral aspect of the deltoid.
If AC joint excision is planned, dissect further medially to expose the distal 2 cm of the clavicle.
8. Split the deltoid muscle in the raphe between the anterior and middle deltoid. Begin at the anterolateral corner and extend the dissection distally 2 to 3 cm.
The direction of the split is approximately perpendicular to the skin incision.
Consider placing a stay suture to avoid injuring the terminal branches of the axillary nerve (see Fig. 1–2A).
9. Starting from the split, release the deltoid subperiosteally along the anterior acromion using an electrocautery.
Start several millimeters back from the anterior edge of the acromion (see Fig. 1–2A).
Bovie electrocautery is more effective than sharp dissection for this step.
10. Release the superficial and deep deltoid fascia. Tag these with heavy nonabsorbable suture, which aids
retraction and deltoid repair.
رترکتوربنت
Carefully coagulate the acromial branch of the thoracoacromial artery that is usually encountered near the anterolateral acromion between the superficial and deep deltoid.
11. Completely detach the coracoacromial ligament, usually along with the deep deltoid fascia, from
its attachment on the acromion (see Fig. 1–2B).
Usually it is not necessary to dissect these out separately.
12. Extend the deltoid release past the AC joint. Expose the distal clavicle when distal clavicle excision is
planned (see Fig. 1–2A).
13. Release bursal adhesions with a blunt instrument or an index finger.

نقد و بررسیها
هنوز بررسیای ثبت نشده است.